How to Remove Tile Backsplash like a Pro!
Are you tired of those tile backsplash? How are you currently dealing with it? If you don’t like it, you can still affect those possible changes and put the tiles of your choice.

It’s not an easy task especially if it’s your first time doing it. In this article, I will take you through a DIY process of how to remove tile backlash like a pro without causing damage to the wall.
Follow the step-by-step procedure given in this article help minimize risks and damages likely to occur when removing those backlash and also ensure you leave a clean surface. See Also: Preparing a Room for Paint.
Details: How to Remove Tile Backsplash
On the other hand, you save costs by avoiding full drywall repair. This is how to remove tile backlash and save your cost.
Step 1: Assessing the Tiles Conditions
Before everything else you need to first understand, the kind of situation you are dealing with. You need to understand the kind of backlash used to fix those tiles and how to go about removing the material.
In some walls, the tiles could have been directly attached to the drywall and in others’ case, the drywall could shave been primed with adhesives for proper installation of the tiles. Apart from priming, the walls could also be painted which could also.
Some people use adhesives like mastic and in some other instances, they use thin-set. For Mastic material it is more of rubbery nature and when removing the tiles, it has a more elastic feel. It is also easy to remove and is also flexible.
As for thin-set material, it is mortar-like and gives a hard and cement-like nature, therefore, making it a bit hard to remove. It holds firm to the tiles and dealing with it needs more time and gentle handling.
This basic understanding is very elemental before you go head-on to the process. See Also: Spray Paint from Chipping off Metal
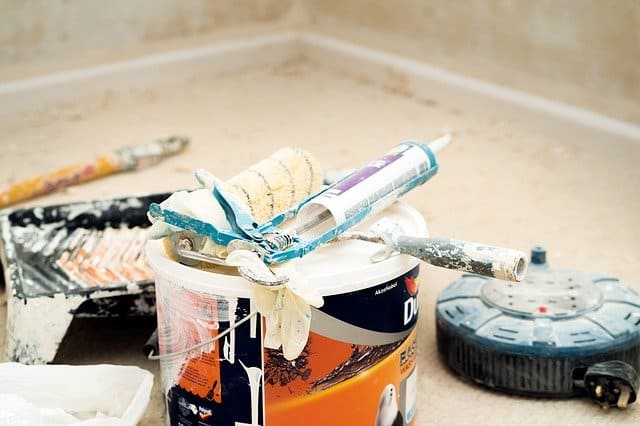
Step 2: Getting the Right Tools for the Job
For you to successfully remove any kind of tile backlash there are very important tools that you need to check on your list. This includes but not limited to:
- A flat chisel
- 6-in-1- 1 painter’s tool
- A hammer/a mini mallet
- Drywall putty (optional)
- Sandpaper (optional)
- Googles
- Gloves
- Face mask
- Having the right tools, your job is halfway done.
Step 3: Covering the Surface
If you are working on the kitchen and any surface, you need to cover the surface to avoid dirtying your floor and blocking your sinks. You can use a cotton cloth, old sheets among others.
If you do not cover that surface, you are most likely going to have a hard surface trying to clean up the mess from crumbles and grouts from the backlash.
Step 4: Loosening the Grout and the Drywall
With your tools ready and the floor well covered, this creates the right moment to begin your job. After having the identified the material used on the tiles, you can now proceed to the other
First, identify the most discreet place where you can start removing tile to test the backlash. You can try removing one of the tiles from that point – check these belt sanders.
Alternatively, you can also try the edge tile which would definitely be the best way to test the backlash and its effect on the drywall. Use the flat-edged chisel and a hammer or the 6-in-1 painter’s tool when removing the backlash. Gently hit the backlash with the chisel edge
If you find the drywall is coming out with backlash, better be prepared to remove the tiles with the drywall. When you are done, you can later proceed and redo the drywall and another backlash.
Step 5: Removing the Backlash
After loosening the backlash, you create a possibility of removing the backlash without damaging the drywall – and remember to remove the spray paint smell.
The most convenient and easiest way of removing the backlash is using the tip of the chisel or the 6-in-1 painter’s tool, lay it at an angle and parallel to the drywall. Directly hammering the chisel against the wall can easily cause damage and you will incur loss.
When grouting and removing the backlash be prepared to take your time. When you break the first the grout, you make the surface smooth and easy to remove the backlash without damaging the drywall.
Hurrying the process will only cause more damage to the drywall and the tiles. For effectiveness in this process, a small-sized chisel is the most preferable for easy hammering and precise removal of the backlash.
When using this chisel, hammer gently at the head of the chisel with a hammer when its tip parallels to the wall.
With your Safety googles on, they will keep your eyes protected from that dust coming off from the hammering of the surface.
A face mask is equally important to protect your face and gloves for protection against injuries on your hands when hammering the chisel.
Push the chisel under the tile and pop it out gently against the wall to remove the tiles. Repeat the process until you are done with all the tile.
If a chisel has proved hard on work, better and faster option of using a Dremel tile accessory or an electric rotary is also available. You can use this tool especially when you find tough grout.
During this process, the easiest way to achieve better results is to start removing the top tiles heading downwards. Ideally, starting grout removal from the edges will also help you work faster and also avoid tile breakages.
A utility knife will be the most preferred tool to remove the grout exposed at the corners as you work along the line to maintain clean work.
In case you are having hard times, you can use a heat gun to remove that tough backlash sticking around the edges.
See Also: How to Paint a Stairwell
Step 6: Repairing the Drywall
It is common to make some damages, nobody is guaranteed of a 100% perfect job. If you find yourself in this this situation, this is not the end.
I am going to tell you how you will redeem yourself from this mess. If you have made some punctures and tears from the blade, a sandpapering will be a good option to clean up the mess.
Adding a layer of sparkle followed by sanding is one of the best ways to smoothen your surface. In this case, sandpaper with 120 grit is the most appropriate that will give you a well-smoothed surface.
Step 7: Cleaning the Gout
The grout which binds the tiles and the drywall together could prove to be cumbersome when cleaning it.
A grout scraper would be the most appropriate for such a job. With it, you can maneuver in the ceramics without causing damage to the wall. You can also use it to minimize the cracking of tiles.
When removing the tiles, ensure you have a bucket to dump the crumbles if you are nowhere near the dumpsite.
With the laid down cover, cleaning becomes a walk in the park as it recollects the falling grouts and debris making it easier for disposing of.
See Also: Painting Over Non Paintable Caulk
Conclusion
It is clear on how to remove tile backlash from your kitchen, bathroom, or any other part of your house. When dealing with this kind of job, you know how to go about it.
Of much importance is to know that this process is a time investment if you really need to have your job smartly done.