How to Paint Popcorn Ceiling (No Damage)
Before proceeding to paint the popcorn ceiling, let’s first understand what is popcorn ceiling?
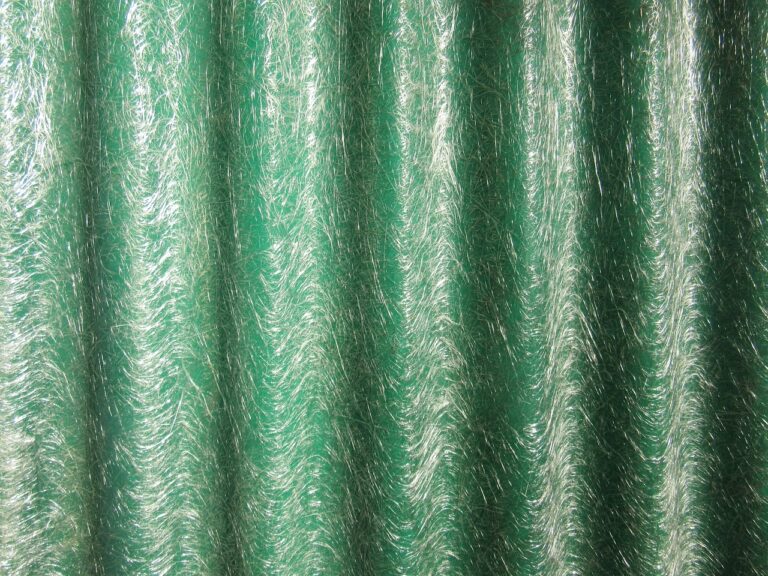
Popcorn also referred to as stucco ceiling is a ceiling that has been designed with acoustic texture made from mixed Styrofoam balls. 
Popcorn used in the pre-1970s contained some elements of asbestos and therefore it’s important to first check for asbestos in your ceiling before you can proceed to paint.
Asbestos is considered to be carcinogenic and no longer advisable for use on ceilings. If present, you may consider getting rid of the ceiling due to its health risk.
Details: How to Paint Popcorn Ceiling (Step-by-Step)
Step 1: Choosing the Right Color
If you are DIYer using a sprayer is by far much better – it is faster and even more effective compared to a roller. But, not everyone can afford a sprayer making a roller the best alternative.
Now that you have settled for painting your popcorn ceiling, there are a few things that you need to note before you can proceed to have your ceiling done.
Choosing the appropriate paint color for your ceiling is the first step to starting your paintwork. This is a very important step in the sense that you have made the choice of how you want your ceiling to be.
After this, you will need to gather tools for doing the paintwork. What tools must you have?
Step 2: Tools for Painting Popcorn Ceiling
Another advantage of popcorn is that they are sound-proof and also good at hiding imperfections. Choosing a sprayer or a roller is something that needs consideration.
- An adjustable step ladder
- Utility knife
- A 9-inch roller frame
- ¾ inch roller covers
- Rolls of masking tape
- Extension pole
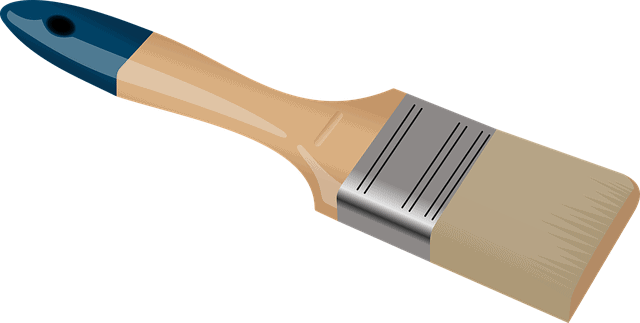
- Painters brush
- Drop cloth
- Respirator
- Googles
Also, get to paint-preferably flat white ceiling paint. A sprayer-if is available.
See Also: Painting A Ceiling Without Roller Marks
Step 3: Surface/site Preparation
When you are sure you have all the tools needed for the job, you can begin by setting up the site in preparation for the job.
This includes sitting at the most strategic point to place your step ladder for good coverage of the ceiling.
The next point is laying the drop cloth by clearing any material underneath and organizing where to keep your tools.
When you are done, mark out all the edges and the walls that are within your painting range with masking tape to help minimize paint dropping.
You can either remove the furniture within the room or have them well covered with a big drop cloth. Ensure to mask the drop cloth to the floor to avoid dust from underneath getting on the furniture.
Ensure the furniture is protected from paint dropping above and the dust from below the surface. When the workspace is ready and covering done – proceed to the next step.
See Also: Paint Finish for Ceilings
Step 4: Thinning the Paint
Use the utility knife to open the paint and if the paint is very thick, they are a high likelihood it going to flake off.
Thinning the paint to at least 20 % is recommendable but that will also be determined on the given paint recommendations.
Further recommendations on thinning formula can also be provided by the paint store. A thinner paint is by far much easier to roll and minimizes the chances of clogging the sprayer.
Step 4: Dusting off the Ceiling
By now, you are probably done with preparing everything on the ground and only left with the ceiling.
It is advisable to brush off the surface with a dry brush. This is to get rid of any dust and webs that could have been to the ceiling.
See Also: Fix Peeling Paint on Ceiling
Step 5: Removing ceiling stains
If the ceiling is stained, painting it directly will be a bad idea. It is therefore prudent to get a general primer that will work well with the paint.
I recommend you consider a primer like Kilz Oil-Based Primer. This will do an amazing job that will hardly notice there was a stain after painting.
Leave it for about 30 minutes to dry before you can proceed to do the painting – check these Wagner Paint Sprayers.
Step 6: Rolling the paint on the popcorn ceiling
You can start by painting the edges of the walls and borders with a brush, an angled brush would be better.
If you are using a roller a ¾ inch is the most suitable with good absorbing abilities be careful not to press it hard against the ceiling.
This is to minimize any chances of the ceiling flaking. Roll it gently in one direction (say north-south or east to west) while creating an overlap of 50%.
Sometimes you may notice little texture coming off which is perfectly normal, but if it reaches a point where large chunks are flaking off, I advise you to stop using the roller and instead opt for a sprayer.
This overlap is an important role to help you achieve full coverage of the ceiling. Repeat the paint until you have a dried surface while avoiding any roller lines that may occur.
Wait for at least 30 minutes before you can apply the second coat. In the second coat, roll the paint in the opposite direction, this will help you achieved a well-covered surface.
Do not forget to observe a 50% overlap to achieve full coverage. Repeat this for the third and the fourth coat if the popcorn was in a bad condition until you get that professional finish.
Take your time after you are done to check if there are any imperfections so that you can work on them before cleaning up your tool.
Step 7: Cleaning Up the Work Station
When you are done and the ceiling looks perfect, you can now proceed to clean up the tools.
Before pulling out the drop cloth, give it some ample time for the splash paint to dry.
Remove the ladder and clean up the rollers, sprayer brush, and other tools.
Pros of popcorn ceiling
- Popcorn ceiling and walls are mainly applied because they are cheap. When you compare it to another kind of ceilings, they are easy to fit and consume little time and labor when fitting. The smooth textured surface like knockdown requires a lot of skill, but that not the case with popcorn.
- Popcorn uses Styrofoam which creates a sound-proof ceiling and therefore reducing noises and echoes in the room.
- Another benefit of popcorn is how it hides imperfections. Unlike the knockdown, you will hardly notice the imperfections because of the textured nature of the popcorn
Cons of Using Popcorn
- People fear popcorn because they think it may be containing asbestos. This is because those used in the pre-1970s were found to be containing this carcinogenic compound.
- Another disadvantage is that some people feel it is an old-fashioned style and unpopular to do popcorn ceiling as compared to the smooth texture.
Spraying Vs Rolling
If you are stuck between rolling and spraying your popcorn ceiling, I have an answer for you.
If you have a sprayer or considering owning one, it is the most appropriate form of the application over rolling.
With a sprayer, you are likely to finish your work faster as compared to rolling. With a sprayer, you will most probably take about an hour to finish a house while for a roller, you may take the whole day.
Another benefit is that unlike spraying, rolling is most probably going to cause flaking or peeling off the ceiling while spraying won’t.
However, the advantage of rollers is that they are readily available and cheap.
See Also: Paint Sprayer for Ceiling
Conclusion
Well done for the successful painting of your popcorn ceiling. As you purpose for this great course, choosing a good paint that will compliment your house.
Get prepared with proper tools which will be helpful in making you achieve a good popcorn painting. You may also want to consider spraying over rolling or using a brush if you really want good results.