How to Build a Raspberry Pi Retro Game Console
It’s no brainier that retro gamers have always desired to create their “general game console,” which would enable them to play games from various systems.
- The critical considerations for this seemingly “idea build” have been excellent connectivity to the Television set, comfortable for gaming using a Retropie Controller, and average price.
However, with the RetroPie software and Raspberry Pi 3, the “idea build” is now achievable. You can now play many retro games in PlayStation, Game Boy, and the Super NES all at a low cost of building the emulation system.
How to Build a Raspberry Pi Retro Game Console
1. Install the Raspberry Pi to the Raspberry case
Your Raspberry Pi will not come with a case unless you go for the bundled offer. However, to protect your Raspberry Pi, it is vital that you install a case for your Raspberry Pi.
Factors to consider while selecting the Raspberry Pi case are design, easy access for your board, port access, and durability.
Please choose a case that Raspberry Pi that has a heat sink. Notably, I will select the Raspberry Pi case that will not require screws and screwdriver to safeguard.
2. Install SD-card image for RetroPie
RetroPie is a Raspberry Pi software bundle, combining projects such as EmulationStation and RetroArch, which is Raspbian created by Linux.
Notably, you’ll find it easy to start with RetroPie through an installation of the SD image that is a suitable system created over the Raspbian OS.
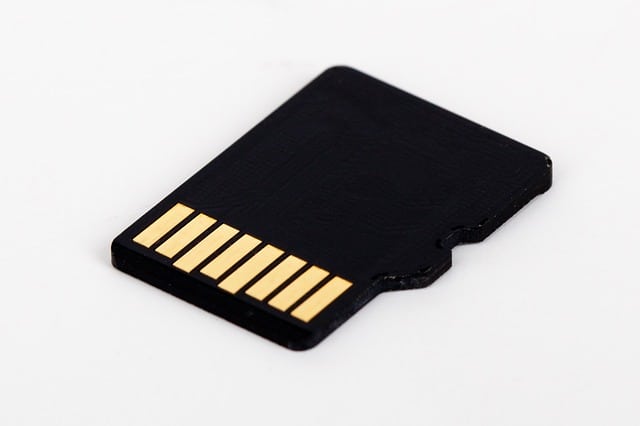
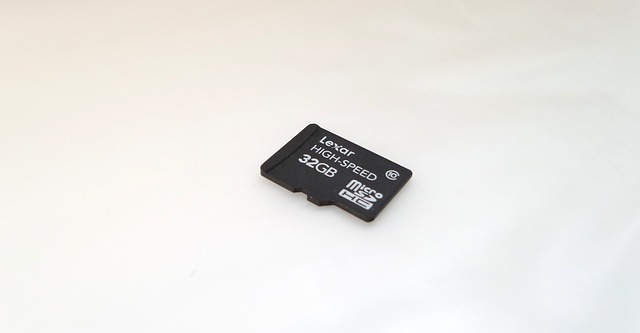
RetroPie combines suite utilities and tools to make it easy to run ROMs for different old-fashioned gaming stages. However, your Raspberry Pi will not have its internal hard drive, and thus you’ll need to employ a microSD card to store the RetroPie files and operating system.
Therefore, you’ll require to download the appropriate version of the SD-Card Image. However, note that you’ll find two kinds of SD-Card Image:
- SD-Card Image for the Raspberry Pi 2 and 3
- SD-Card Image for your Raspberry Zero W, Pi Zero, B+, B, A, & A+.
3. Format the MicroSD for Raspberry Pi Operations
If your Raspberry Pi SD card is above 32 GB, you’ll need to format to FAT32 so that it can work with the retro games you’ll install. As I had outlined earlier, all SD cards bigger than 32GB will have the SDXC card, which is not compatible with NOOBS.
Therefore, to use such as 64GB and above SD card in Raspberry Pi, you’ll need to format the card to the exFAT filesystem.
Notably, the default SD Formatter tool format the SD cards 64GB or bigger to exFAT. However, the bootloader that is inside the GPU is only compatible with the FAT system.
For Windows, use the FAT32 Format that you can download and run on your PC to format your SD card to FAT32 ready for Raspberry Pi operations. For Mac OS and Linux, use the SD Formatter plus the FAT32 Format tools.
4. Mac – Installing operating system images
For Mac, you’ll install the RetroPie image using the ApplePi-Baker tool.
However, after downloading and installing the utility, you’ll need SUDO access for writing and reading the Raspberry Pi SD card.
- Install and launch the SD card, after which you enter the Mac access.
Once you found the ApplePi-Baker utility, you’ll need to click, on the left side, your Raspberry Pi SD card. After this, hit the “Restore Backup” and then the Image (RetroPie SD-Card).
5. Windows – Installing operating system images
For windows, you’ll need to download the Win32DiskImager from the resource page.
Therefore, insert the SD Card and run the Win32DiskImager.exe. From the running application, choose the desired #.img’ image file and hit the write button.
6. Install the Raspberry Pi SD card & peripherals and link to the internet
Your next step will require that you properly install the SD card to the Raspberry Pi slot. Also, install the HDMI cable, USB game controller, and keyboard.
- For the display, you can link your TV or monitor using an HDMI cable.
Remember that you’ll only switch on power to your Raspberry Pi after linking all the Pi peripherals. Therefore, finally, connect the Raspberry Pi MicroUSB power supply.
To get game ROMs, you’ll require to link the Raspberry Pi to the internet and find explanation scraping and gaming evaluation. You can connect your Pi to the internet through:
1. WiFi – RetroPie
For the WiFi, you’ll need to link all the Pi peripheral and then hit the RetroPie menu on the Raspberry Pi and hit WI-FI.
2. WiFi – in-built
If you have Wireless Pi Zero and Raspberry Pi 3, then you can connect to the internet through the in-built WiFi.
3. WiFi dongle
If none of the above WIFI options are available, then you can purchase a USB WiFi adapter that will allow you to link to the internet.
4. Ethernet Cable (CAT5)
Notably, not all of us fancy the WIFI connection to the internet. Therefore, you can use the Ethernet (CAT5) cable to link your PI to the internet.
7. Expand the SD card and link the Raspberry Pi
I must say that the SD card is now bigger than before. Therefore, if you have an SD card that has a capacity of over 4GB, you’ll need to expand it using raspi-config by running the sudo raspi-config command line.
After finishing the installation and expansion, reboot the Raspberry Pi.
8. Connect the Raspberry Pi
To copy the game ROMs, you’ll now link the Raspberry Pi with the PC, which will enable you to rework its configuration files readily.
9. Set up controller and search Game ROMs
For your retro game controller to function with the Raspberry Pi, you’ll need to set up the USB controller.
- For your retro gaming, you’ll need to visit sites that offer legal and priceless ROMs that you can download to your device.
You can install the ROMs through a USB thumb drive or SFTP/ SSH or other methods.


