What Happens If You Don’t Paint Over Primer
Usually, the priming process is done before actual paint application is undertaken in order to boost adhesive contact of the finish coat. Some painters tend to skip primer and directly apply finish paint.
So, what happens if you don’t paint over primer? Well, the surface (under paint application) experiences low-paint adhesion, non-uniformity between paint color and sheen, while the surface demands several coats before attaining an excellent finish.

In addition, the low stickiness action (associated with the unprimed surface) leads to peeling and scuffing, while uneven surface coating may initiate chipping or flaking. More so, the finish coat ends up having leakage on damaged sections.
See Also: Sandpaper for Primer before Paint?
Details: What Happens If You Don’t Paint Over Primer
The unprimed surface has low service life & a poor finish impression. Quality paint coat is a function of right primer selection, finish coat matching, and appropriated solvent preparation.
a. Low Paint Adhesion
Primer solvent is meant to seal primary surface material and boost the adhesive contact over which finish paint will stick.
However, without priming your surface, paint adhesion is reduced by over 50%. In such cases, paint forms drains and runs, which are more cumbersome to cut with a paintbrush or a roller.
Moreover, the paint molecules may not be highly compatible with the primary surface material – the primer is formulated to create a suitable bond between finish paint and surface material.
b. Non-Uniformity on paint Color and Sheen
Unprimed surface forms a non-uniform finish impression (between paint color and sheen) due to unmatched paint seepage over the primary surface material.
Usually, the paint is absorbed (by the primary surface material) unevenly from point to point upon application, thus leading to non-uniformity.
The primed surface material has sealed poles and highly quenched porous section and thus won’t cause uneven paint absorption during paint application – primer act as a leveler solvent that eliminates low surface contact and boost the sheen impression.
See Also: Primer for Oak Cabinets
c. Onset of Peeling and Scuffing
Due to low paint adhesion, the finish coat tends to peel or scuff after sometimes. The primer solvent boosts the contact stickiness and improves the paint contact surface life.
Moreover, a primed surface has a high resistance to peeling and scuffing agents and offers full proof to wear and tear when exposed to abrasive force.
Unprimed painted surfaces are not sealed or coated to improve surface material strength and hence the primary surface grains or structure has less adhesive force towards paint molecules.
Peeling occurs when the finished paint layer detaches from the wall or surface material.
d. May Lead to Chipping
Unprimed surfaces chip often (especially for surfaces that are found in humid environments) due to low stickiness level and uneven paint coat layer.
Usually, the paint layer begins to disintegrate at a particular section due to low contact and humid integration.
As the chipping agents (dust, lime, water, acid) accumulate, the chipping rate increases and ends up pulling down the entire paint coat.
The primer provides a surface area over which the paint coat sticks. Moreover, the primer seals the primary material and prevents chipping agents such as lime, acid, water, or dust from reaching the primary surface material.
See Also: Primer for Kitchen Cabinets
e. Cause Leakage on Damaged Surface
Paint solvent applied over an unprimed surface is susceptible to damage, especially when subjected to exterior abrasive forces.
Besides, the paint coat may break under extreme solar radiation and crack abnormally due to internal surface strains.
Paint layer damage that results from unprimed surface leads to leakages – for sealed sections. The primer acts as a sealer (acrylic primer) and prevents internal leakages from an occurrence.
f. Demand for Several paint Coats
Apart from being used as a sealer and adhesion booster, primer works as a primary paint layer – it works as an undercoat and thus improves surface strength for subsequent paint coat applications.
Unprimed surfaces demand more paint coats than primed surfaces – this is due to the fact that the first paint layer is used as a ‘primer’ (not a primer), while the rest of the paint layers adds to stickiness until the required finish is attained.
Since finish paint doesn’t contain a primer composition, more paint coats are needed to attain intended quality results.
Therefore, it’s more expensive to paint over an unprimed surface than painting over a primed surface. See Also: Primer for Rusted Metal.
How to Prime Surface for Painting
When carrying out the paint application process, priming your surfaces is a crucial step in boosting not only the surface’s paint stickiness but also sealing porous sections and damaged surfaces.
To prime your surface, you will need to follow the steps highlighted below:
Materials and Tools Required
- Primer and Thinner
- Empty bucket and a paintbrush
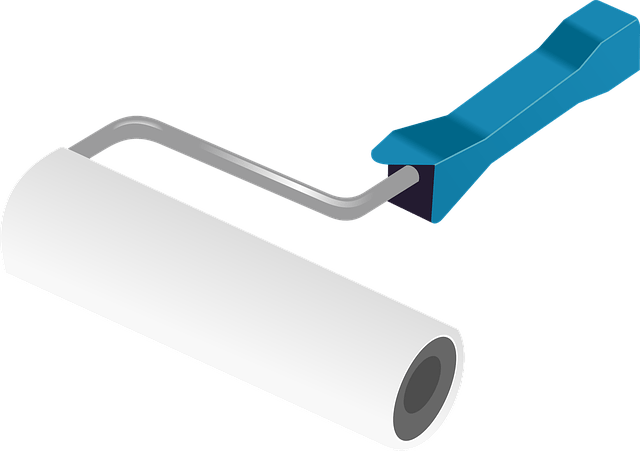
- Stirrer and a roller
- Waterpoint and piece of cloth
- Test board and dust coat
- Respirator and gloves
- Boots and goggles
See Also: Paint Popcorn Ceiling (No Damage)
Steps to Follow
- Wear protective gear – boots, respirator, goggles, dust coat, gloves- for your personal safety
- Pour primer into an empty bucket gently – measure quantity in response to the surface you intend to paint
- Add thinner little by little as per the manufacturer’s instructions
- Stir the mixture using a stirrer to attain uniform solvent
- Dip a paintbrush and test the loading capacity. The well-thinned primer should load onto a paintbrush without forming a lot of drains or runs
- Carry out a drop test experiment over the test board to ascertain the primer’s stickiness level before actual priming is done
- Dip a paintbrush into the primer and load sufficiently. Cut excess solvent
- Gently, apply the primer, back and forth, over the surface
- Repeat the previous step until the entire surface is coated
Leave the primed surface to dry naturally. Surfaces found in dusty environments should be covered with a polyethylene bag to prevent them from dirt staining.
See Also: Drywall Primer Sealer
Precautions and Safety Measures
- Always put on protective gear when thinning primer for your safety purpose
- Never smell primer or thinner directly – the solvent may contain components that can irritate your respiratory system if inhaled
- Do not thin primer near the fireplace – most thinners are highly flammable
- Always check primer’s expiry date before thinning occurs
- Follow manufacturer’s instructions when preparing your primer
When do you Use Primer Before Painting?
Though primer is crucial when painting your surface, sometimes, finish paint and other surface materials don’t really need priming.
However, the following surfaces and conditions require priming before paint application is carried out:
a. New Dry Wall
A newly constructed drywall should be primed (before painting) to seal porous sections and eliminate surface pores.
Moreover, the primer also acts as an undercoat for better adhesive contact for the subsequent paint coat.
b. Wood Surface
Just like drywall, wood has a porous surface that required sealing prior to paint application.
Therefore, the wooden surface should be primed to seal and protect the paint solvent from seepage when painting.
Moreover, primer reduces the number of paint coats that could be used in order to attain a quality wood finish. See Also: Oil Based Primer for Cabinets.
c. When painting over dark colors
In case you want to transit from dark to lighter color, priming the surface would be the best approach – the primer covers the dark color sufficiently without creating any translucent impression.
You may need to apply two or three primer coats, as per the dark color intensity of the previous surface layer.
d. Gloss Finish
Gloss finish coat won’t retain paint well upon application due to low adhesive paint contact.
Therefore, you will need to prime the surface in order to attain a quality finish and reduce peeling or scuffing from occurring with time.
e. Painting metal or plastics
Newly manufactured metal or plastic structures can be painted after priming to boost surface strength and improve overall service life.
Moreover, the primer also seals the primary coat layer from rust agents (in metal) and protects the material from direct abrasion effect in case of scratch.
See Also: Exterior Primer Paint
Conclusion
To wide up, on what happens if you don’t paint over primer, you will experience low paint adhesion, non-uniformity between paint color and sheen, while the surface demands several coats before attaining an excellent finish.
Besides, the low stickiness action initiates peeling and scuffing, while uneven surface coating may lead to chipping or flaking. Further, the finish coat is easily damaged and causes uncalled-for leakages.
Notably, the unprimed surface has low service life and poor outlook appearance. To attain a quality paint finish, you must select the right primer, match the finish paint correctly, and prepare the solvents according to the manufacturer’s instructions.

